

Like most quilters, I have acquired a large amount of randomly sized pieces of batting. Every so often I remember that using up my batting scraps instead of buying brand new batting for a project leaves me more money for FABRIC, and then I get all responsible like my momma and I piece together my batting for my quilt.
The good news is that it couldn’t be easier.
- Lay out your batting pieces until they make one large piece at least 4″ wider and longer than your quilt top.
- If your pieces aren’t cut with a nice straight line, use a rotary cutter to make the edges neat. When I am quilting using stippling, I use a straight line seam (making sure it is not running straight down the middle of the quilt, since this is how it will often be folded). If I was doing straight line quilting, I would use a curved edge like the one shown in this Moda bakeshop tutorial.
- To piece them, set your machine to a zigzag stitch.
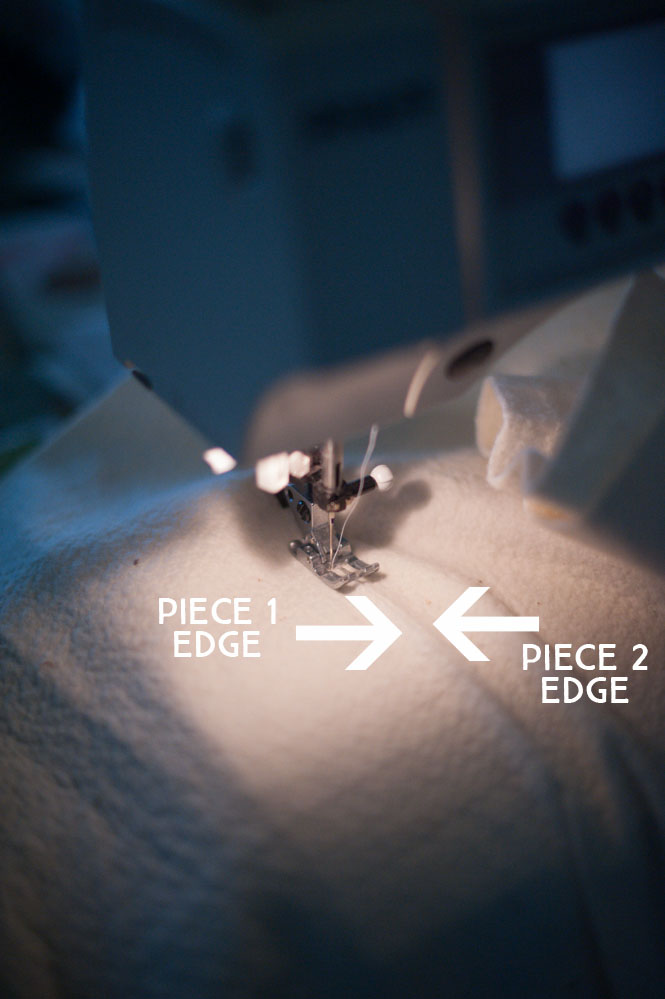
- Place the pieces side by side (versus how we’re used to piecing–right sides together). Butt the edges up next to one another in line with the center of your sewing machine foot and start feeding it through. You can overlap them slightly or just have them side-by-side. The zigzag stitch and pressure of the foot melds the fabric together beautifully either way.
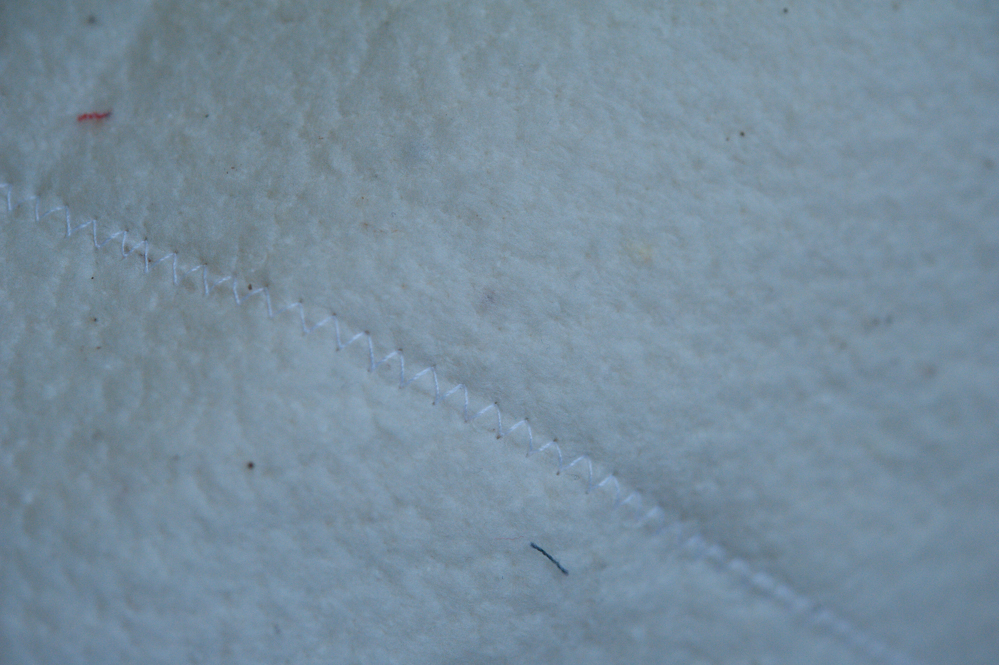
The finished seam is almost invisible!
![]()