
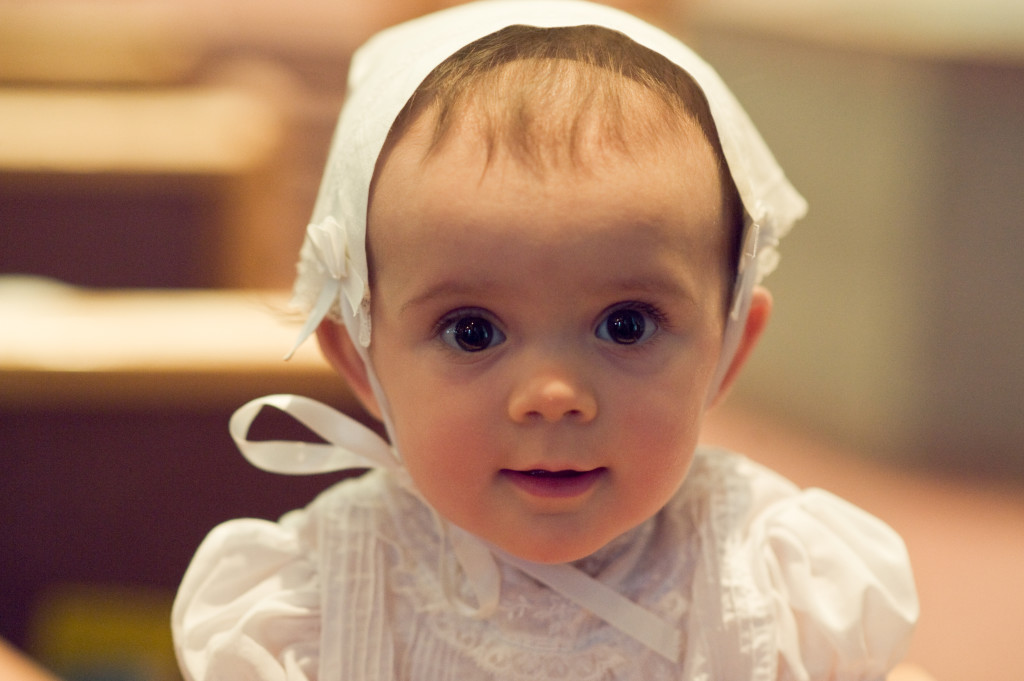
In our family the baptism outfit is full of sentimental touches, from the family gown to the bonnet made from a handkerchief. At the baby’s baptism it’s a bonnet, but made from a handkerchief it’s ready to be converted for the baby’s future wedding day. For my goddaughters’ baptisms I chose handkerchiefs with German lace to honor their German heritage from Bumblebee Linens. I was concerned about the size–the heirloom handkerchiefs are 10″ instead of 12″, but the bonnets fit fine. They are super easy to make!

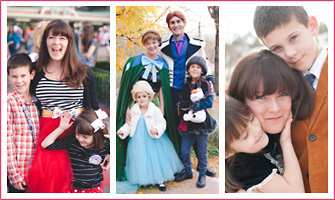
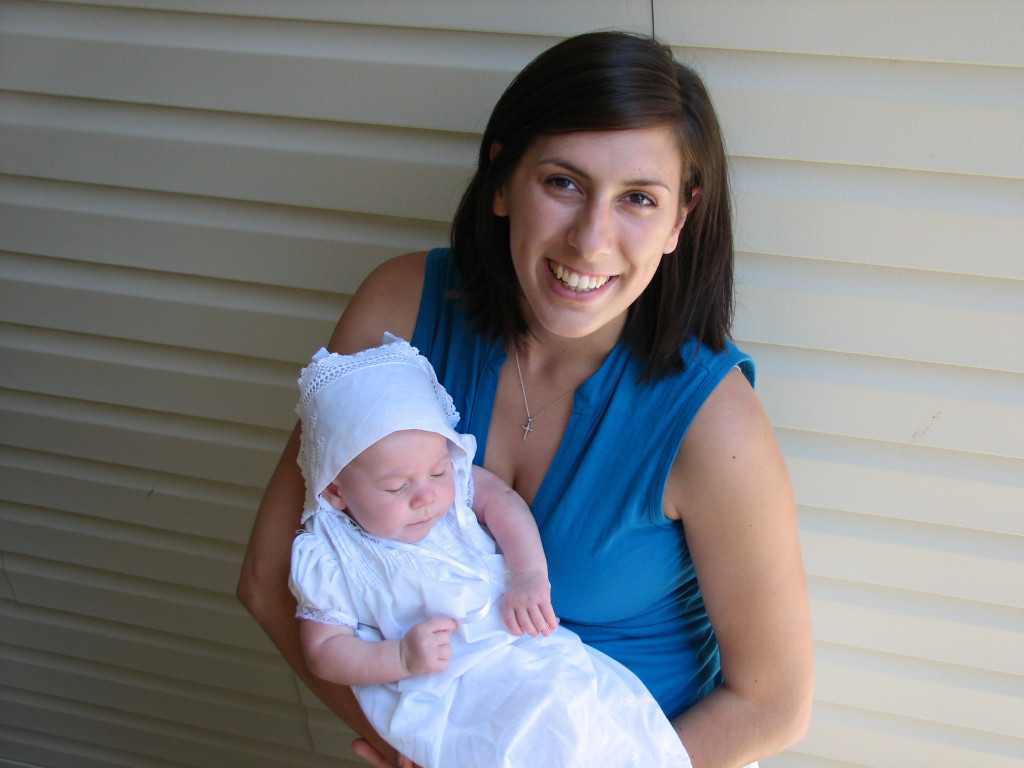
Me with my newest godbabies
Will with his godmother almost a decade ago!
Poor Eloise (2010) was 10 months old for her baptism (hazard of having international godparents) and we had to squeeze her into both the gown and the bonnet!
Supplies:
- Handkerchief
- Ribbon for ties
- Rosettes

How to make a handkerchief bonnet:
- Fold one end of the handkerchief back about 3-6 inches and press with a hot iron. (This will be the brim.)
- Fold the opposite end back 1-3 inches and press. (This will be the back of the bonnet.) Open up and see that pressed line.
- With a needle and thread, make a running stitch along the pressed fold at what will be the back of the bonnet–these are your gathering stitches.
- Cinch that back closed and tie off the thread you had made the running stitch with.
- Make a bow with ribbon and tack it onto the spot where you tied off the gathering stitch. The back of the bonnet is now done!
- Sew ribbon onto the front corners of the bonnet–these are your straps.
- Sew rosettes on top of the raw ribbon edge.
(For step by step photos, see the Bumblebee Linens tutorial.)
![]()