

I have about four years worth of Halloween posts to catch up on, but I thought I’d start with this tutorial for anyone trying to crank out a Pokemon themed trick or treat bag before Wednesday!

Note: I am pretty loosey-goosey in the sewing room, so please understand that these directions assume a basic understanding of sewing techniques and bag construction are not beginner-friendly.
- Assemble red, black, and white fabric. I used cheap solids quilting weight cotton from JoAnns and estimate you need 1/2 yard of red, 3/4 yard white, and 1/3 yard of black fabric for one bag depending on how large you end up making your circles. (I had one yard of each and had plenty of leftover fabric after making two bags.)
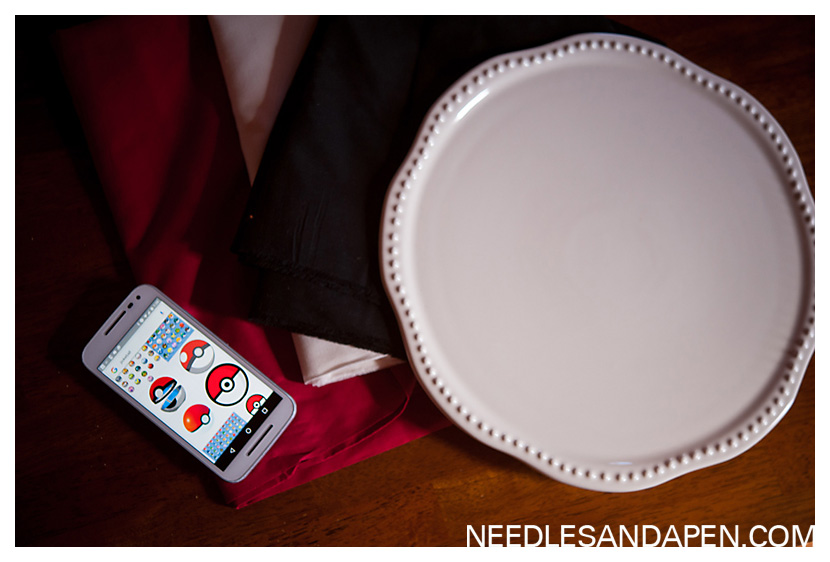
- Find a large circle to use as a template. I started with this platter but ended up using a lampshade. Just find a big circle to trace.
 Your measurements in this next section will depend on your circle and how much fabric you’re willing to waste. I sewed my approximately 10″x20″ pieces of of red and white fabric together with a 1.5″ (finished to 1″) black strip in between them. You’ll need two of these panels for each bag (the front and back pieces).

If you’re using a plate, you can use a quilting ruler to make sure you get your black strip centered when you trace around the circle. I ended up using a lampshade for a larger circle and lining up in interior wiring to get my black line centered. While you have your circle template out, cut two additional circles from your white fabric–this will be the lining of the bag.
![]()
You now have two striped circles and will add the center circles. To make the center circles I traced around two different glasses. I then used fusible interfacing to adhere the white circle to the black before sewing it down with the raw edges showing. You can see in this picture that I ended up trimming down the black circles a little bit.
![]()
I feel like raw edges on circles are fine for a Halloween bag, and the fusible interfacing kept them from fraying.
![]()
Next up comes the straps. You can use whatever method you like best. I didn’t feel like fishing them through with the tube method, so I used the double fold method, but either would work just fine. Black webbing would also work great as a premade option.
![]()
I don’t have a photo for this next step, but you’ll want to baste the straps into position. Mine were about 5-6″ apart, but it will depend on the size of your circle, so just play around until it looks right to you.
(Warning, particularly un-beginner friendly section ahead.) Having basted the straps into position you’ll take your front panel and sew it right sides together with one of your white lining circles, but leave a 2″ unsewn gap at the bottom. You’ll then pull the whole thing through this gap. Smooth out the curves and then press it. You should have a flat circle with a handle at the top and a small unsewn section at the bottom that you can close up by hand if you’re picky or machine if you’re not. Repeat with your back panel.
![]()
Place the front and back panels right sides together and sew them together, leaving an opening at the top as wide as you feel is desireable. Triple or more stitch at the start and end to really secure the opening of the bag and prevent it from slowly pulling apart as the trick-or-treating gets serious. Then invert the bag so the lining pieces are together and voila, you’re done!
![]()
Happy Trick or Treating!