Photoshop Friday: Sharpening Your Photos
Apr 05, 2008
(Photoshop Friday and Scrapbook Saturday are a day late this week thanks to BOTH my blog AND Photoshop wigging out on me yesterday.)
Whenever you are about to print a photo or share it online, one of your last steps should be to sharpen it. Whenever you resize your photo–either making it larger OR smaller–you’ll need to sharpen it.
Here’s the picture we’ll be working with:

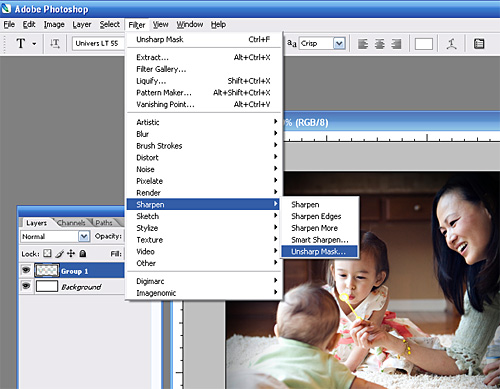
I have always used the “unsharp mask” feature (FILTER>SHARPEN>UNSHARP MASK):
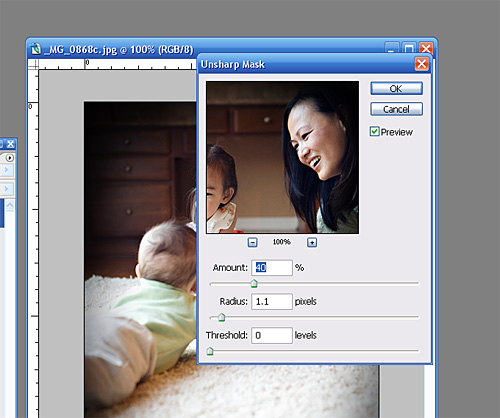
Next you get a little pop-up window that asks you to pick your settings. This is the setting I usually use, but I think every photographer finds one that they like best:
Yesterday a fellow photographer taught me a new technique that I like a lot. It gives you a little more power to fine tune the effect.
Start by making a duplicate layer of your photo (LAYER>DUPLICATE LAYER):

Then you head over to the filter drop-down again, but this time you’ll select OTHER>HIGH PASS:

It will give you another pop-up prompt. Pick something around 30px:

Now it’s time to make the scary gray disappear. In your layers menu, change it from “normal” to “soft light” and then adjust the opacity of the layer to whatever seems right.


And there you have it–two different ways to sharpen your photos!
Posted in Photoshop Tips
Comments
Perfect! Well done... Thanks for sharing your idea. Cheers!